Knowledge
Emergency Repair Kit Essentials for Fast Fiber Optic Fixes
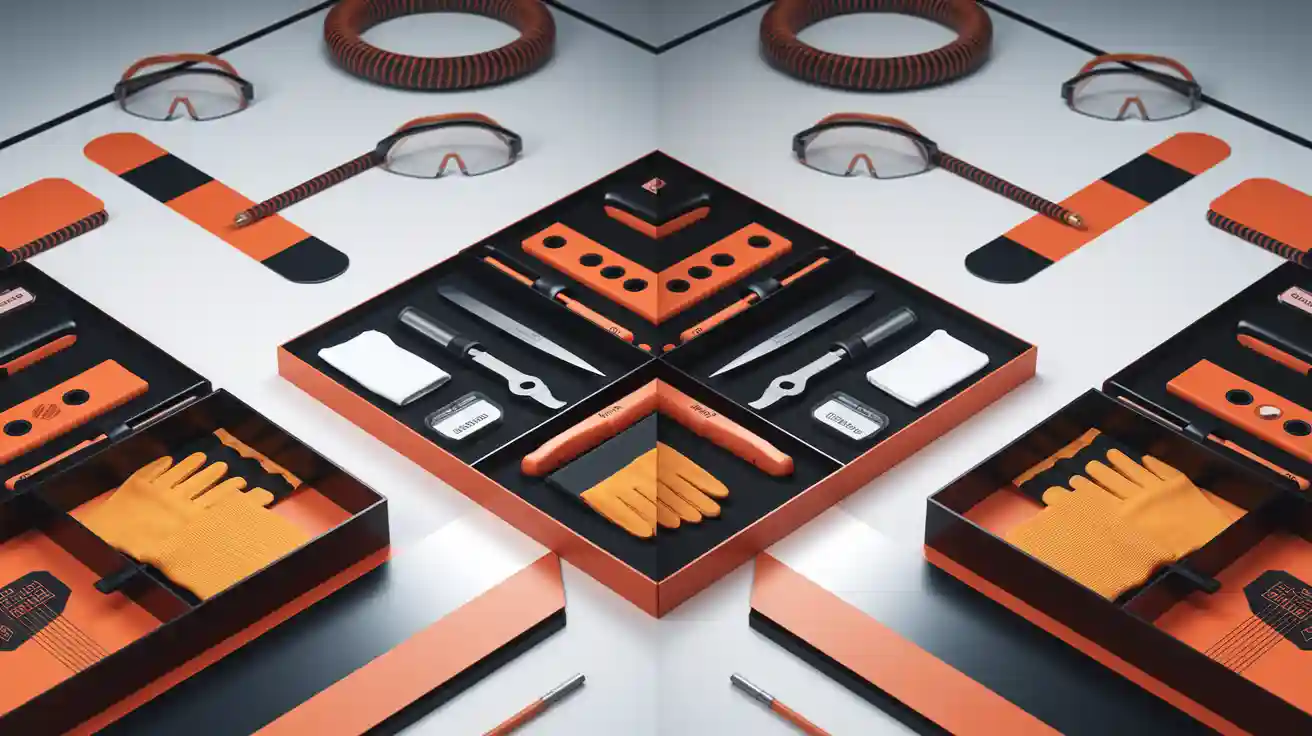
When you have an emergency repair, you need the right tools. Your emergency repair kit should have a fusion splicer, mechanical splicer, OTDR, fiber cleaver, cleaning supplies, and extra connectors. These tools help you fix damage quickly and stop problems from a broken fiber optic cable. Always follow safety rules and ask an expert for help to fix things fast and well.
Tip: Keeping your emergency repair kit ready cuts down on emergency wait time and helps your network keep working.
Key Takeaways
-
Always have a full and neat emergency repair kit. It should have all the tools, cleaning items, and safety gear you need. This helps you fix fiber optic cables fast and safely.
-
Use a simple repair plan. First, look at the damage closely. Next, pick the best splicing method. Then, test your repair well to make sure the network works right.
-
Check your kit often and add new supplies when needed. Clean your tools and connectors often. Teach your team so they are ready for quick and good emergency repairs. This helps stop long network problems.
Kit Components
Having a good emergency repair kit helps you fix fiber optic cables fast and safely. You need tools, cleaning items, and safety gear to get service back and keep downtime short. Every item in your kit helps you fix things quickly and follow the rules.
Fiber Optic Cable Repair Tools
Your emergency repair kit should have strong tools. These tools help you find problems with an optical time domain reflectometer, do splicing, and finish repairs fast and right. Here is what you need:
-
Fusion Splicer: This tool melts two fiber ends together with electricity. It makes a strong connection that does not lose much signal. Use it for repairs that need to last and give the best signal.
-
Mechanical Splicer: This tool lines up two fiber ends in a sleeve. It is good for quick fixes when you do not have time for fusion splicing. Use it when you need service back fast.
-
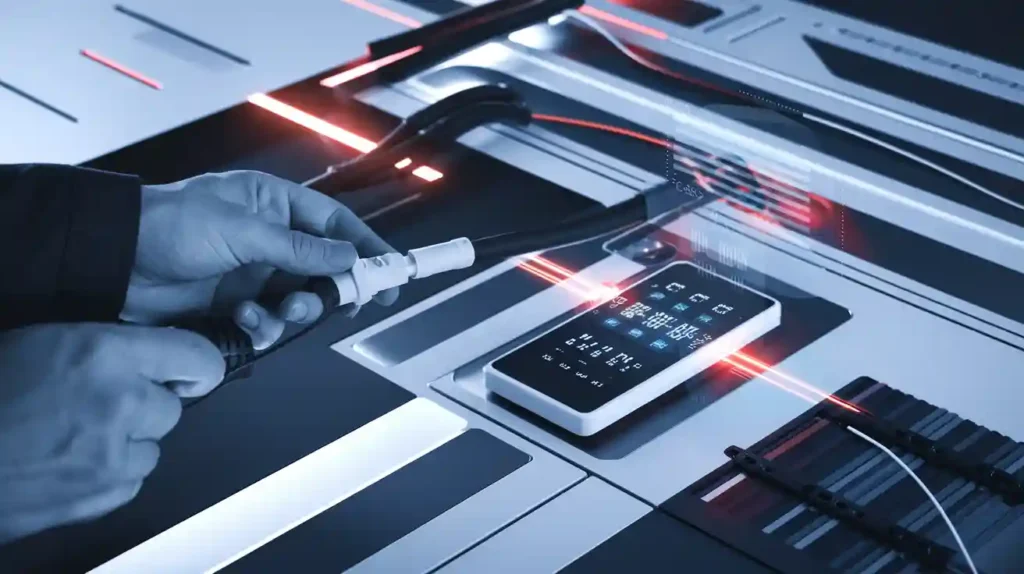
Visual Fault Locator (VFL): This pen-shaped tool sends a red laser through the fiber. It helps you see breaks, bends, or bad connectors right away. You can find the problem spot fast.
-
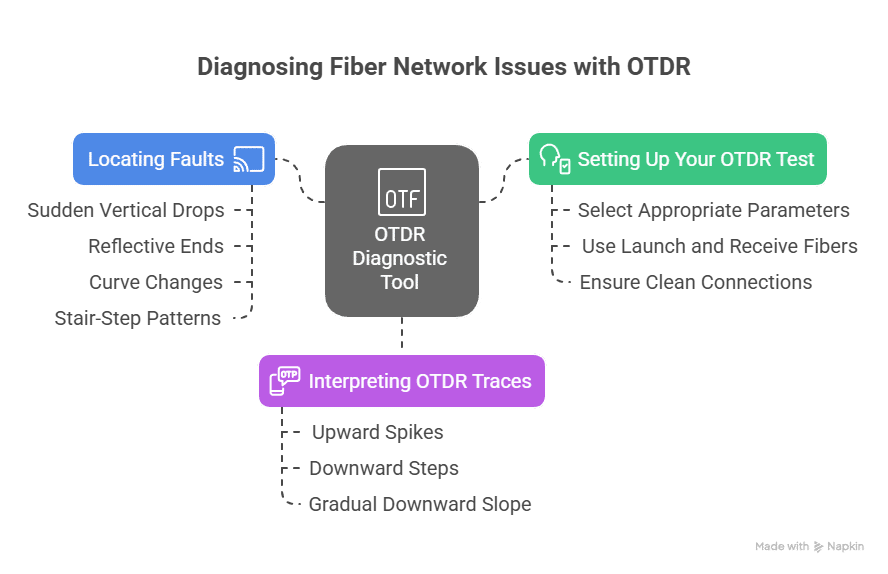
Optical Time Domain Reflectometer (OTDR): This tester sends light pulses down the fiber and checks reflections. It helps you find faults and measure cable length. It is important for fixing problems and saves you from digging or changing cables you do not need to.
-
Fiber Cleaver: This tool cuts the fiber end flat and clean. Clean cuts are needed for splicing. A good cleaver helps keep the signal strong and makes repairs better.
-
Fiber Stripper: This tool takes off the fiber’s coating. It shows the glass core without hurting it. Stripping is the first step in every repair.
-
Kevlar Cutter and Utility Knife: These tools cut tough cable jackets and Kevlar parts. You need them to get to the fiber quickly and safely.
-
Buffer Tube Slitter: This tool opens buffer tubes without hurting the fibers inside. It helps you work faster and keeps fibers safe.
-
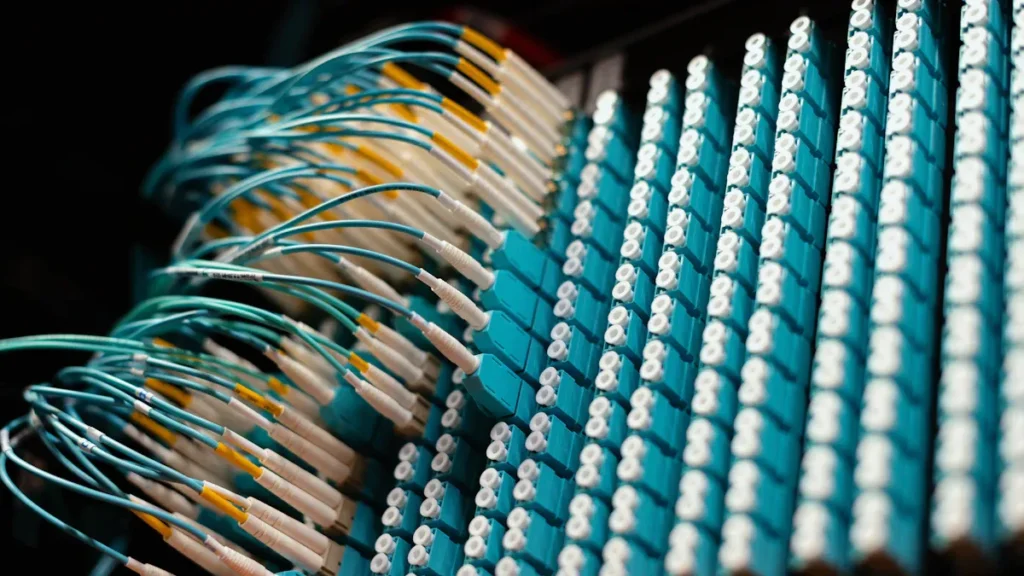
Spare Fiber Optic Connectors: Keep different connectors (SC, LC, ST, MPO) in your kit. You need them to finish repairs and replace broken ends.
-
Field Assembly Connectors: These connectors let you finish fibers in the field without a fusion splicer. You can get service back in minutes.
-
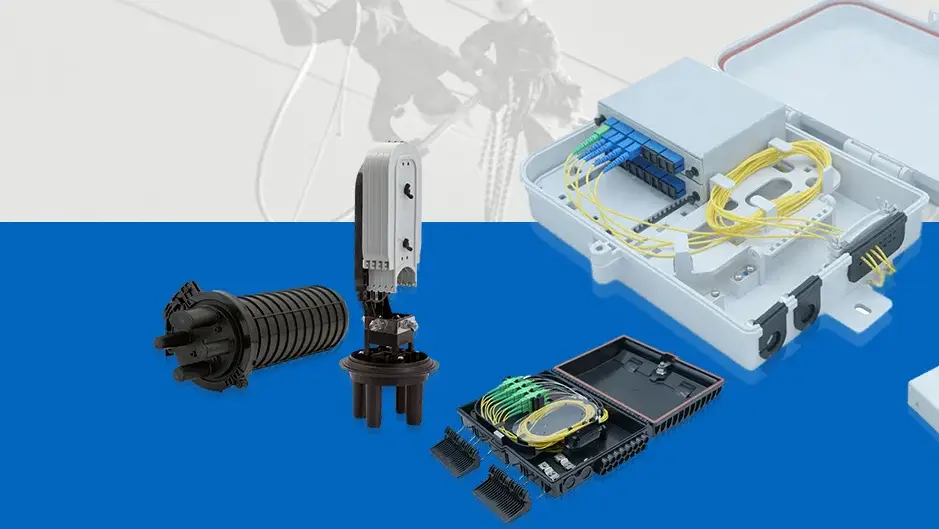
Fiber Optic Splice Closures: These waterproof boxes protect your splices. They keep out water and dirt so your repair lasts. Always have extra closures for all kinds of repairs.
-
Temporary Splice Enclosures: These are easy to use and hold many splices. You can use them quickly in emergencies to keep your network working until you do a permanent fix.
-
Testing Tools: Have a fiber optic power meter to check signal strength after repairs. This step makes sure your work is good and the network works well.
Tip: Check your tools often. Make sure they work and are ready to use fast.
Cleaning and Protection
Keeping things clean is very important in every repair. Even tiny dust can block light and cause signal loss. You must keep all connectors and splices clean to fix fiber optic cables right.
-
99.9% Isopropyl Alcohol: Use this alcohol to clean fiber ends and connectors. It gets rid of oils and dust that hurt signals.
-
Lint-Free Wipes and Swabs: These wipes and swabs clean fiber surfaces without leaving anything behind. Always use new wipes for each cleaning.
-
Connector Cleaning Tools: Quick clean pens and cubes make it easy to clean connector ends. They help you stop contamination, which causes most emergency repairs.
-
Solvent Pens: These pens put cleaning fluid right on the connector. You get clean connectors with no mess.
-
Cleaning Cards: These cards have lint-free spots to clean connectors fast during repairs.
-
Protective Sleeves: After splicing, put a heat-shrink sleeve over the joint. Heat it to seal and protect the splice from water and bending.
-
Fiber Optic Splice Closures: Use closures to keep splices safe from the environment. They stop water, dust, and bugs from hurting your repair.
-
Silicone Sealant: Put sealant around closures for extra protection in bad weather or wet places.
Note: Most network problems come from dirty connectors. Always clean before and after repairs to keep your network working well.
Safety Gear
Safety is always important during repairs. Working with fiber optic cables means sharp glass, lasers, and sometimes electricity. The right safety gear keeps you and your team safe.
-
Safety Glasses: Wear these to protect your eyes from glass pieces and laser light. Eye injuries happen a lot in fiber optic repairs, so always wear glasses.
-
Work Gloves: Use gloves to keep your hands safe from cuts and splinters. Fiber pieces are hard to see and can hurt you.
-
Protective Overalls and High-Visibility Vests: These keep your clothes clean and help others see you, especially outside or in busy places.
-
Steel-Toed Boots: Wear boots to protect your feet from heavy tools and things that might fall.
-
Hard Hats: Use hard hats where things could fall or if rules say you must.
-
Fall Protection Gear: Use harnesses and lanyards if you work high up. Always use ladders safely and keep three points of contact.
-
Insulated Gloves and Tools: Use these near electrical lines. They protect you from shocks and follow OSHA rules.
-
First Aid Kit: Keep a first aid kit close by. Quick bandages and eye wash can stop small injuries from getting worse.
-
Fiber Safety Kit: Have tweezers, alcohol wipes, and a fiber scrap container. These help you handle and throw away fiber pieces safely.
Safety Reminder: Always follow OSHA rules and your company’s safety steps. Training and the right gear keep you safe during every repair.
A full emergency repair kit helps you fix any fiber optic cable problem. You can find, fix, and protect your network quickly and well. Keeping your kit neat and ready means you can act fast in emergencies, lower downtime, and keep your business safe.
Emergency Repair Process
When a fiber optic network stops working, time is important. You need a simple emergency repair process to fix things fast and keep downtime short. This part shows you the main emergency connection steps. You will learn how to check damage and make sure your repair works. If you follow these steps, you can fix common fiber optic cable problems and keep your network strong.
Damage Assessment
You must always start by finding out where and how bad the damage is. A quick and correct check helps you plan the right repair and saves time.
-
Identify the Problem Area
Look for signs like broken cables or crushed pipes. Check for damage from water, animals, or sharp bends. These things often cause fiber optic cable problems. -
Use Diagnostic Tools
Use your Visual Fault Locator (VFL) to find breaks or bends. The VFL shines a red light so you can see where the fiber is broken. For a more exact spot, use an Optical Time Domain Reflectometer (OTDR). The OTDR sends light down the fiber and checks for reflections. This helps you map the cable and find the problem. Test at both 1310 nm and 1550 nm. If you see more signal loss at 1550 nm, the fiber may be badly damaged. -
Assess the Extent of Damage
After you find the problem, check if it hurts one fiber or many. Use a Light Source and Power Meter to see how much signal is lost. This tells you if you need to cut the cable or just do a simple splice. -
Plan the Repair
Pick a safe place to do the splice. Make sure you have enough extra cable to work with. Check that the new fiber is the same type as the old one. This stops problems with the signal.
Tip: Always write down what you find. Take pictures and save OTDR results before you start. This helps you follow rules and fix things later if needed.
Splicing Methods
Once you know where and how bad the damage is, you need to fix the connection. There are two main ways to splice fiber optic cables: fusion splicing and mechanical splicing. Your choice depends on what you have and how long the repair needs to last.
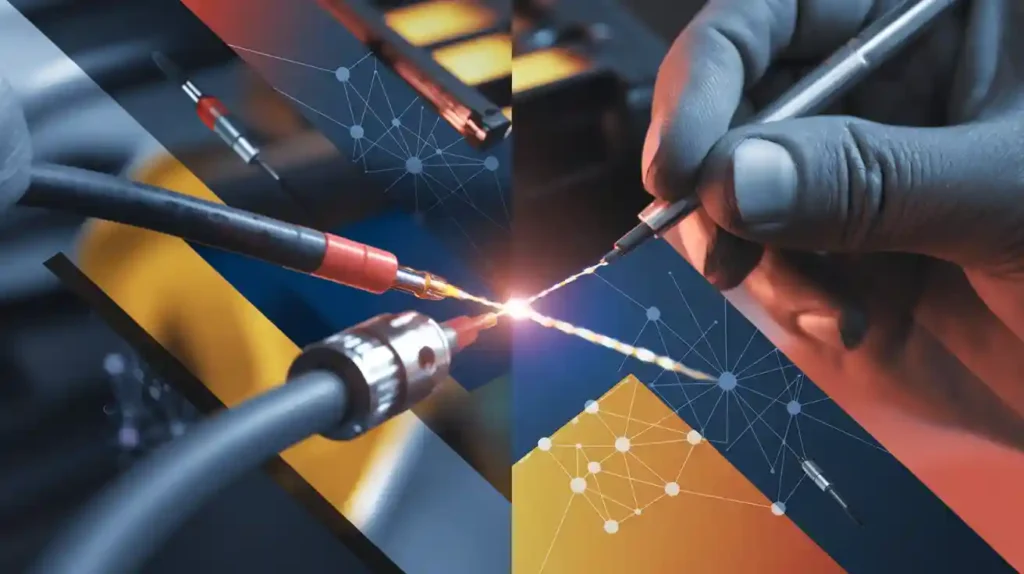
Fusion Splicing
Fusion splicing makes a strong, lasting connection by melting the fiber ends together. This way gives you the best signal and lasts the longest.
-
Setup: You need a fusion splicer, power, and a clean area. Strip, clean, and cut the fiber ends before you start.
-
Process: Line up the fiber ends in the splicer. Start the arc to melt them together. Each splice takes about 20 to 45 seconds. Getting ready can take 10 minutes or more.
-
Advantages: You get a strong joint with little signal loss. This is best for repairs that need to last a long time.
-
Considerations: Fusion splicing needs skilled workers and special tools. It is not easy for quick fixes or tough places.
Mechanical Splicing
Mechanical splicing is a fast way to fix things in an emergency. You line up the fiber ends in a sleeve and hold them with gel or glue.
-
Setup: The tools are small and easy to carry. You can get ready in seconds, so it is good for quick fixes.
-
Process: Strip, clean, and cut the fiber ends. Put them in the sleeve and lock them in place. Each splice takes about 30 to 60 seconds.
-
Advantages: You can fix things fast with little equipment. This way is cheap and good for short-term repairs.
-
Considerations: Mechanical splices lose more signal and do not last as long. They can get worse over time, especially in bad weather.
Note: If you have to fix many fibers, fusion splicing can save time. For one or two quick repairs, mechanical splicing is faster.
After you splice, cover the joint with a heat-shrink sleeve. Put it in a splice closure to keep out water, dust, and bumps.
Post-Repair Testing
Testing your repair is very important. You must make sure the emergency repair worked and meets the right standards. If you skip this step, you might miss problems and have more downtime later.
-
Visual Inspection
Use a Visual Fault Locator to check for light leaks at the splice or connector. This helps you find easy-to-see problems fast. -
Signal Loss Measurement
Use a Light Source and Power Meter to check signal loss from end to end. Compare your results to what your network needs. If the loss is high, you may need to fix the splice or clean the connectors. -
OTDR Testing
Run an OTDR test to check the fixed part. The OTDR trace shows where the splices, bends, and breaks are. It also checks the cable length and makes sure the repair is good. -
Documentation and Compliance
Write down all your test results, including OTDR traces and power meter numbers. Good notes show you followed the emergency repair process and help you fix things in the future.
Best Practice: Clean all connectors before and after testing. Dirty connectors cause most problems and can undo your repair.
-
Restore Service and Monitor
When you know the repair is good, turn the network back on. Watch the fixed part for a while to catch any new problems. Update your risk notes and teach your team what you learned from this repair.
Remember: Fast and correct emergency repair saves money by cutting downtime and stopping repeat problems. Training and expert help make sure your team can fix any emergency with confidence.
If you follow these emergency connection steps, you can fix any emergency repair fast and well. You protect your network, keep downtime low, and help your business run smoothly.
Maintenance and Readiness
Proactive inspection schedules and pre-staged emergency kits—calibrated OTDRs, splice protectors, and climate-specific sealants—guarantee response readiness, transforming potential disasters into sub-30-minute fixes with downtime-proof resilience.
Kit Organization
It is important to keep your emergency repair kit neat. Put each tool in a labeled spot inside a strong case. Use foam or dividers to keep things like fusion splicers and cleavers apart. This helps you find tools quickly and keeps them safe.
-
Put spare parts and connectors in clear, small boxes.
-
Use a checklist to make sure you have every item.
-
Scan barcodes or QR codes if your company uses digital inventory. This helps you find parts fast when there is an emergency.
If your kit is organized, you save time and feel less stressed. You can grab the right tool quickly. This means you fix problems faster and your network works better.
Teach your team to put tools back after using them. Training helps everyone learn how to do emergency repairs. Practice drills help your team work together and get faster at fixing things.
Restocking Tips
Check your kit after every emergency or regular check. Replace anything used or missing right away. Clean tools with lint-free wipes and isopropyl alcohol to get rid of dust. Keep everything in a dry, safe place so it does not rust.
-
Look at cables, connectors, and seals for damage.
-
Test tools like power meters and splicers to make sure they work.
-
Plan to check your whole kit every six months.
Taking care of your kit stops problems before they start. You avoid issues like dirty connectors, bent cables, or missing parts. This keeps your kit ready for any emergency.
Write down every time you restock or check your kit. Good records help you see patterns and plan for what you need next. When your kit is neat and full, your network stays safe and downtime is short.
You can keep your network working well with a good repair kit. Always follow the steps to check your emergency repairs. Practice with trained experts to get better. Experts say you should find problems fast and check your kit often. Get help from people who know a lot. Doing these things saves money and cuts down on lost time. You can fix your network quickly and safely.


 Fiber Optic Termination Boxes
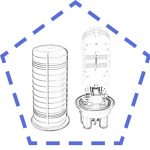 Fiber Optic Splice Enclosures
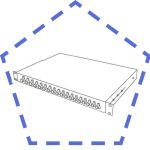 Fiber Patch Panels
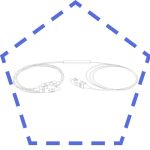 PLC Splitters
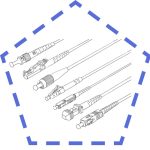 Fiber Optic Pigtails
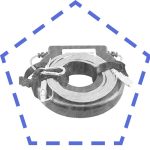 OTDR Launch Cables
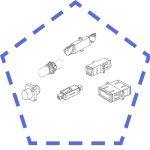 Fiber Optic Adapters
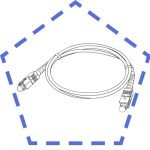 Fiber Optic Patch Cords