Knowledge
Best Practices for Designing Indoor Fiber Optic Routing in 2025

You get the best Fiber Optic Routing results by using flexible designs. You should also plan the pathway carefully and follow standards. The Fiber Optic Association suggests using FTTH network design rules. These rules include PON architectures and new ways to install. North America has the biggest revenue share at 35%. Asia Pacific is growing very fast.

Key Takeaways
Plan your fiber optic routing with care. Check what the building needs. Pick the right cables for the job. Leave extra space for future changes. This will help save time and money later.
Follow all safety rules when you install cables. Use the right standards. Protect cables from sharp bends. Use fire-safe materials. This keeps your network strong and people safe.
Test your network often to keep it working well. Label all cables so you know what they are. Keep good records of your work. This makes repairs and upgrades easier.
Planning Fiber Optic Routing
Assessing Building Needs
Start every Fiber Optic Routing project by learning what your building needs. Each building is different and has its own problems and good points. First, look at some important things:
Fiber type selection: Pick singlemode fiber for long distances and fast speeds. Use multimode fiber if the run is short.
Network topology: Choose if you want point-to-point, ring, tree, or mesh. This choice changes how your network grows and handles problems.
Fiber count: Think about what you need now and in the future. Putting in extra fibers now can save money and time later.
Scalability: Use equipment that can be added to later. Leave some space for more cables. This helps you grow your network when you need to.
Redundancy: Add backup links and different paths. This keeps your network working if one path stops.
Professional installation: Hire certified people to install, test, and write down what they do. This makes sure your network works well and is easy to fix.
You also need to think about the building’s shape and age. Tall buildings and old buildings may not have much room for cables. You might need to use smaller cables or put them on the surface. Think about how the cables look, especially in places where people care about looks. Always follow fire safety rules and building laws. Pick the right cable, like armored or Low Smoke Zero Halogen (LSZH), for your building.
Tip: Plan your Fiber Optic Routing so you can upgrade later. Put in extra ducts and fibers now to save money and work in the future.
Mapping Pathways
After you know what your building needs, you can plan where the fiber cables will go. Work with architects, engineers, and builders to make sure your plan fits the building. Good planning helps you avoid problems and keeps your network strong.
Coordinate with stakeholders: Talk to everyone early, like building owners, IT staff, and service providers.
Follow standards: Use ANSI/TIA and National Electrical Code (NEC) rules. These rules keep your work safe and legal.
Plan for the future: Make your pathways ready for high bandwidth and new things like smart building systems and IoT devices.
Use the right infrastructure: Put Main Distribution Frames (MDF) and Intermediate Distribution Frames (IDF) in the middle of the building. Connect them with multi-strand fiber cables to send signals easily.
Select proper cable types: Use single-mode fiber at demarcation points for long connections. Pick connectors that your service provider wants.
Integrate with building systems: Run cables through conduits, trays, or fiber-ready boxes that are already there. This keeps cables safe and makes fixing them easier.
Challenge | Solution |
|---|---|
Use smaller boxes or compact cables | |
No existing pathways | Add surface-mounted ducts or trays |
Many sharp corners | Use bend-insensitive fiber |
Multiple providers | Share small cable systems |
Aesthetic concerns | Hide cables in walls or ceilings |
You might run into problems like crowded utility paths or small closets. Plan your Fiber Optic Routing to not bother people living or working there. Try not to stop their service. Use pre-terminated cables and tested solutions from the factory to make work faster and cut down on mistakes.
Note: Always write down your pathway plans and keep them up to date. This helps a lot when you need to upgrade or fix things later.
Core Routing Scenarios

Server Rooms and Data Centers
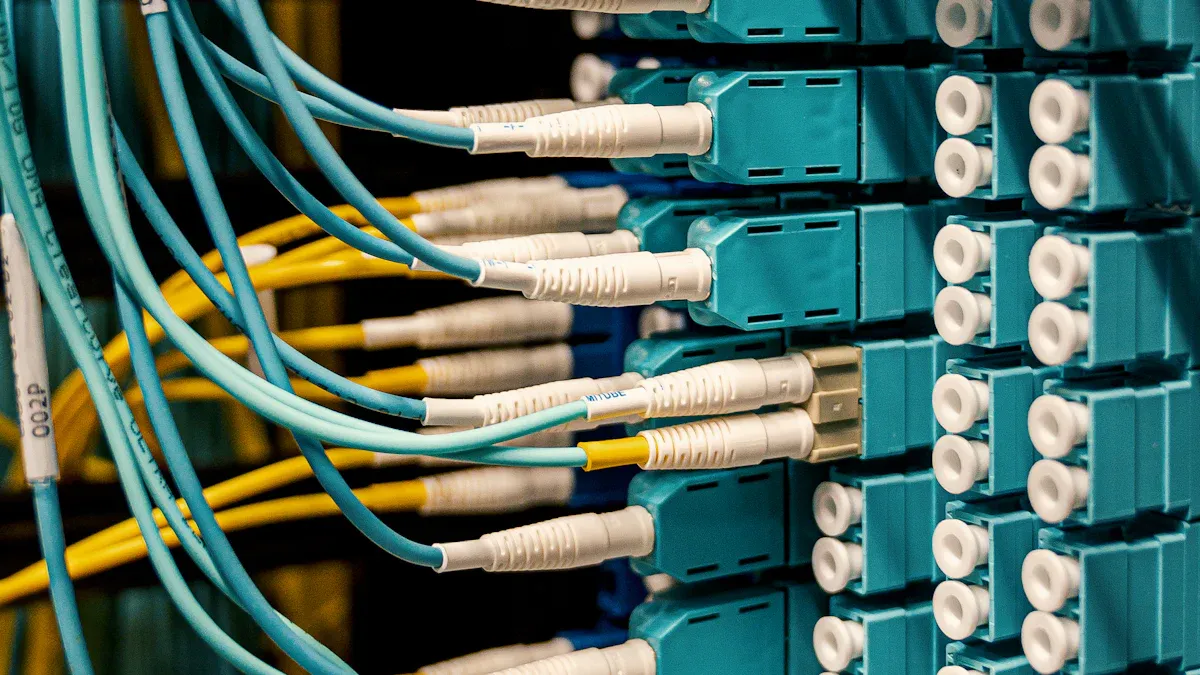
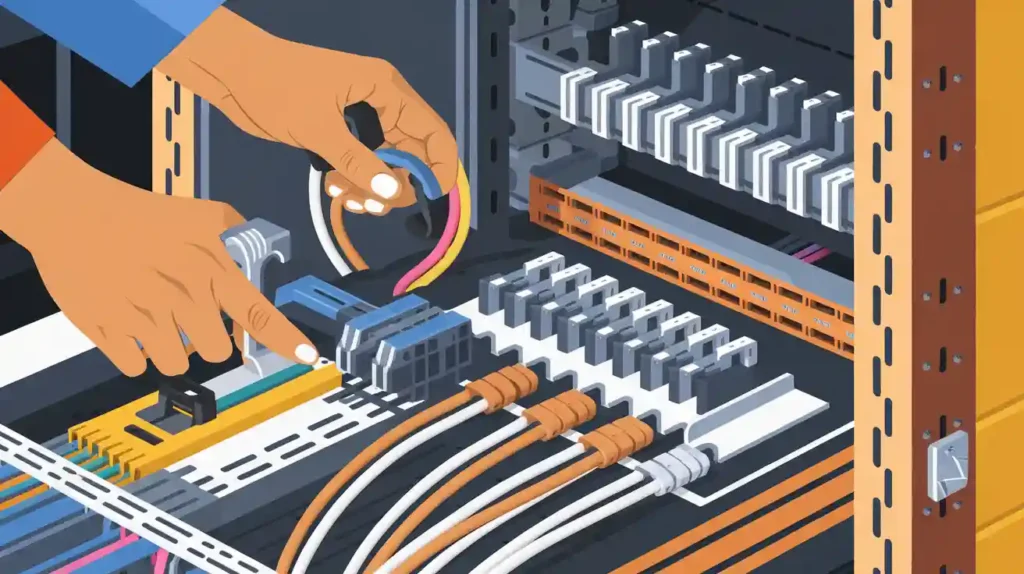
You must use structured cabling standards in server rooms. This keeps your network neat and ready to grow. Use cable trays, patch panels, and modular cassettes to hold cables. Pick single-mode fiber for long runs. Use multi-mode fiber (OM3, OM4, OM5) for short, fast links. MTP/MPO connectors let you join many fibers in one spot. This saves space and helps air move better. Always keep cables from bending too much. Use cable trays to hold them up. Test your links with OTDR and check insertion loss for strong signals. Leave space for upgrades and new tech in the future.
Tip: Do not use point-to-point cabling. Structured cabling is easier to fix and keeps downtime low.
High-Rise and MDUs
High-rise buildings and MDUs need special Fiber Optic Routing plans. Run feeder cables to fiber hubs in basements or closets. Riser cables go up the building to each floor’s terminal. Drop cables connect these terminals to each unit. In old buildings, you may need to run cables in attics or along walls. Use LSZH or fire-safe cables to follow safety rules. Pre-terminated cables save time and bother for people living there. Use covers and trays to hide and tidy cables.
Challenge | Solution |
|---|---|
Space constraints | Use compact, pre-terminated cables |
Aesthetic concerns | Install decorative covers |
Fire safety | Choose LSZH cables |
Office and Open Spaces
In offices and open spaces, you must think about looks and speed. Run cables under floors, in ceiling trays, or wall ducts. Use splitters and fiber terminals in the middle to serve many users. Keep paths clear and label everything for easy changes. Always plan for more devices and faster speeds later.
Note: Good Fiber Optic Routing here keeps your network strong and easy to upgrade.
Routing Optimization
Space and Fill Rate
Plan your cable paths with enough space for now and later. Do not put too many cables in one tray or conduit. Keep the fill rate under 40% so you can add or remove cables later. If you pack too many cables together, they can get damaged. It also makes fixing things harder. Use trays, ducts, and raceways to keep cables neat. Always look at the manufacturer’s rules for how many cables you can use. Good planning saves money and keeps your Fiber Optic Routing working well.
Tip: Leave some extra space in trays and conduits. This makes it much easier to upgrade later.
Bend Radius and Cable Protection
You must protect fiber cables from sharp bends. If you bend a cable too much, it can lose signal or break. Always follow the minimum bend radius rules. Here is a simple guide:
Fiber Optic Cable Type | Installation Phase | Minimum Bend Radius Requirement |
|---|---|---|
All indoor fiber cables | During installation (under tension) | 20 times the cable diameter |
All indoor fiber cables | Post-installation (long-term) | |
Single-mode fiber | General minimum radius | About 20 mm (check manufacturer) |
Multimode fiber | General minimum radius | About 30 mm (check manufacturer) |
Bend-insensitive fiber | General minimum radius | More flexible, check manufacturer specs |
Bend-insensitive fibers can go in tighter spots, but always check the manufacturer’s instructions. Use covers to protect cables. Do not run cables near sharp edges or heavy machines.
Fire Safety Compliance
You must follow fire safety rules when putting in indoor fiber cables. Pick the right cable for each place:
OFNR cables go in vertical shafts between floors.
General-purpose cables are for places with less fire risk.
Use Low Smoke Zero Halogen (LSZH) jackets in crowded or closed spaces.
Always follow NEC Article 770 and local rules.
Put firestopping at every wall or floor hole.
Only trained people should install and secure cables.
Fire-rated cables do not catch fire easily and make less smoke. They help keep people safe. Good Fiber Optic Routing always puts safety first.
Fiber Optic Routing Components
Cable Types and Ratings
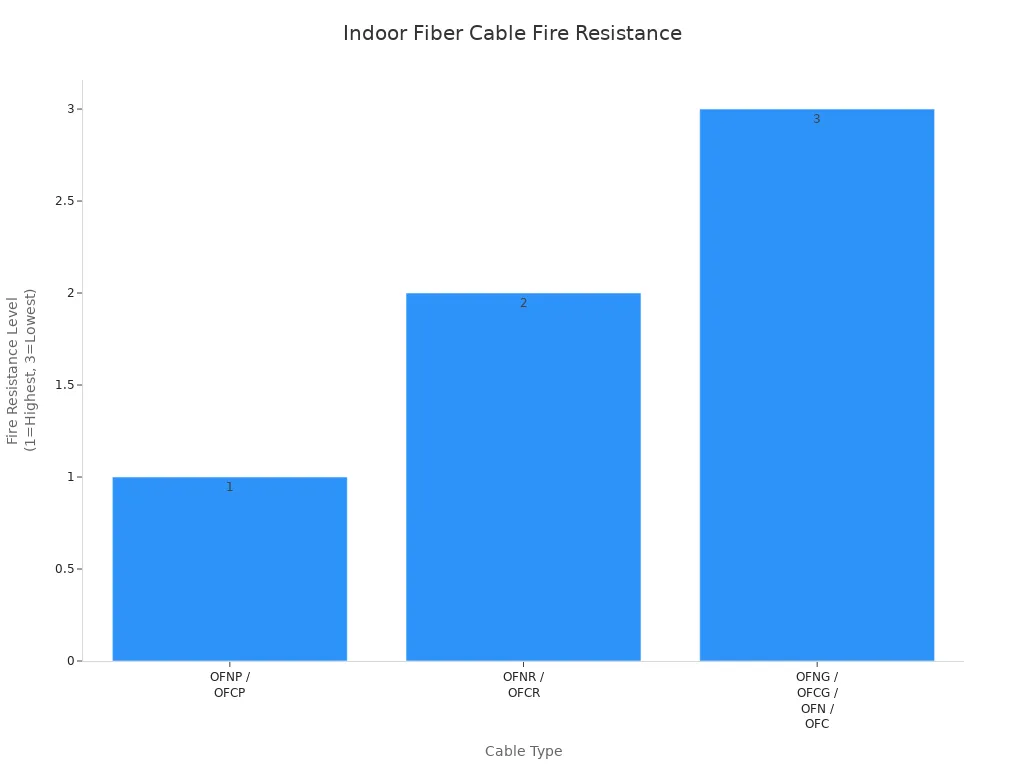
Pick the right cable type for each part of your building. The National Electrical Code (NEC) gives rules for fire safety. Plenum-rated cables have the best fire resistance. They are used in air ducts or places with moving air. Riser-rated cables go in vertical shafts between floors. General-purpose cables are for areas with fewer fire safety needs. The table below shows the main cable types and where to use them:
Cable Type | NEC Fire Rating | Typical Installation Areas | Fire Resistance Level | Description |
|---|---|---|---|---|
OFNP / OFCP | Plenum-rated | Plenum spaces (air circulation areas) | Highest (1) | Highest fire resistance, low smoke, suitable for air ducts and return air systems. |
OFNR / OFCR | Riser-rated | Vertical shafts between floors (risers) | Medium (2) | Moderate fire resistance, used in riser shafts; not for plenum areas. |
OFNG / OFCG / OFN / OFC | General-purpose | Other indoor areas (non-plenum, non-riser) | Lowest (3 or 4) | Lowest fire resistance, only for general indoor areas. |
You can also pick jacket materials like PVC, PVDF, or LSZH. LSZH jackets make less smoke and no halogens. This makes them safer for people and the environment.
Tip: Always use the right cable rating for each area. This keeps your network safe and follows the rules.
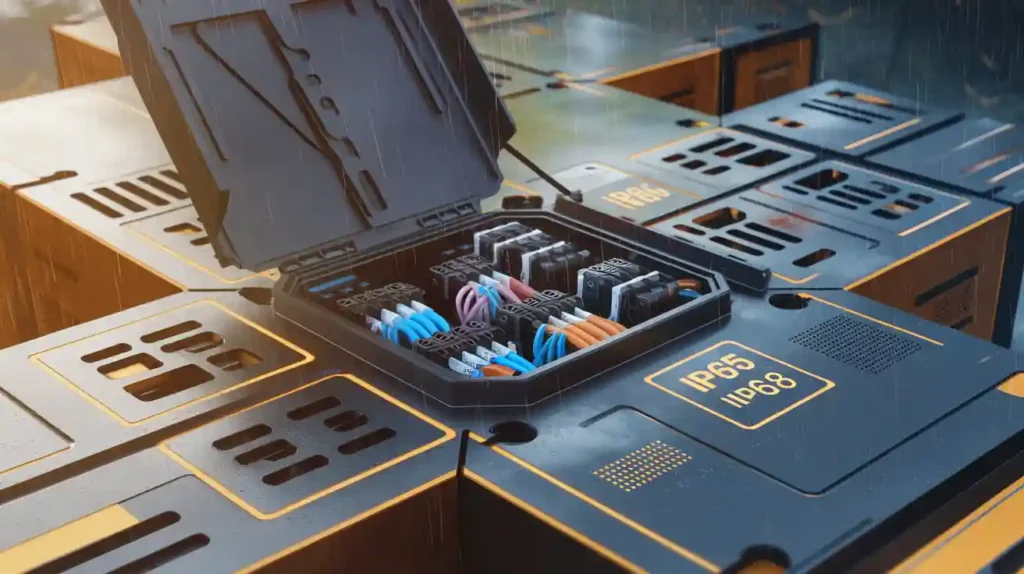
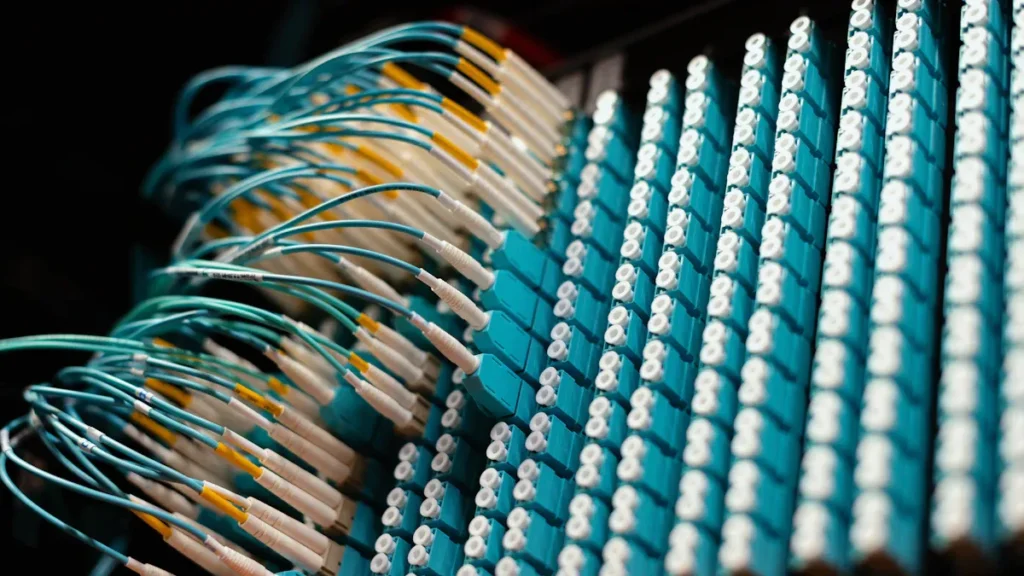
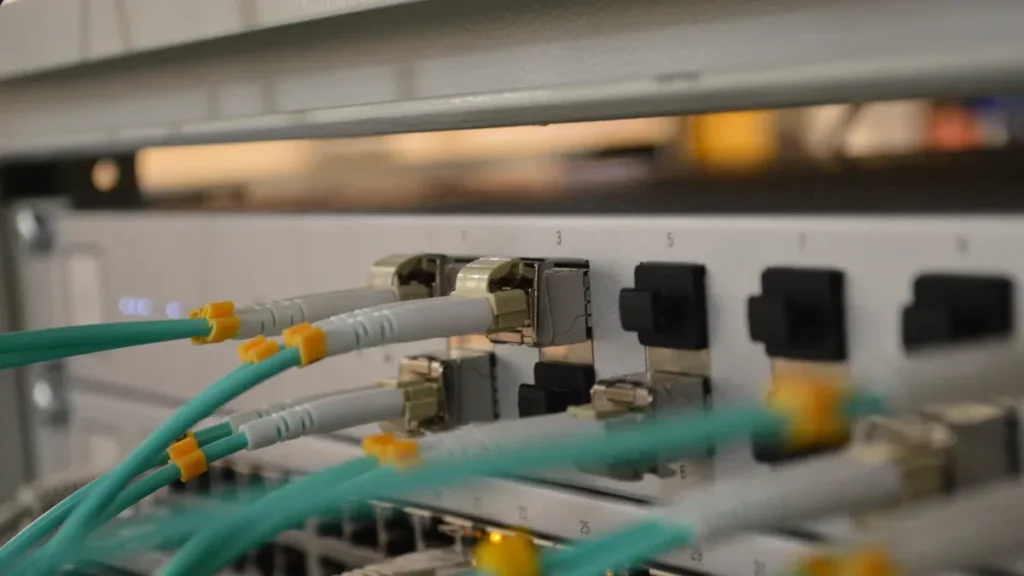
Connectors and Enclosures
Modern connectors and enclosures help you build a strong network. Modular enclosures can have 4, 6, 8, or 12 ports. This makes upgrades easy. Small designs fit on walls or ceilings. Many enclosures are light and tough. Some let you snap connectors in place without tools. This saves time. Some enclosures have smart sensors to watch your network. High-density designs hold more fibers in less space. These features help keep your Fiber Optic Routing neat and ready to grow.
Modular enclosures make it easy to add more
Snap-on connectors install fast without tools
Light, strong materials are easy to use
Smart sensors help you watch your network
High-density designs fit more fibers in small spaces
Cable Management Systems
Good cable management keeps your network tidy and safe. Cables need protection from sharp bends and damage. Use systems that let you reach cables easily for repairs. Label every cable so you can find it fast. Arrange cables to let air flow and stop overheating. Pick systems that can grow with your network. The most important standards for cable management are EIA/TIA-568, EIA/TIA-569, EIA/TIA-606, EIA/TIA-607, ISO/IEC 11801, and NEC Article 770.
Standard / Code | Description |
|---|---|
EIA/TIA-568 | Main structured cabling standard for premises cabling, covering fiber optic installations. |
EIA/TIA-569 | Defines pathways and spaces such as telecom rooms, essential for cable management. |
EIA/TIA-606 | Covers cabling system administration and documentation. |
EIA/TIA-607 | Addresses grounding and bonding requirements. |
ISO/IEC 11801 | International equivalent to TIA-568, covering structured cabling for customer premises. |
NEC Article 770 | US National Electrical Code article specifically for fiber optic cables and raceways, mandatory for safety compliance. |
Protect cables from sharp bends
Make cables easy to reach for repairs
Keep cables safe from damage
Label and write down every cable
Let air move to keep cables cool
Pick systems that can grow with your network
Note: Following these rules helps you keep your Fiber Optic Routing safe, reliable, and ready for the future.
Installation Best Practices
Step-by-Step Guidelines
It is important to follow clear steps when you install indoor fiber optic cables. The Fiber Optic Association gives these steps for a safe and good job:
Put safety first. Always wear eye protection. Be careful with fiber shards. Follow OSHA rules and handle chemicals safely.
Train your team. Make sure everyone knows how to use the tools. Everyone should understand the steps. Certified installers help stop mistakes.
Plan before you start. Look at the building layout. Pick all equipment and get permits. Work with everyone involved.
Document early. Start labeling and writing down cable details before you install. This helps with upgrades and repairs later.
Prepare equipment. Bring all cables, connectors, and tools to the site. Keep the area safe if work takes more than one day.
Install carefully. Use raceways, trays, or conduits for your space. Do not bend cables sharply or pull them too hard.
Terminate and splice properly. Use the right kits. Follow the manufacturer’s instructions for strong, clean connections.
Test your work. Use optical test equipment to check signal strength and make sure everything works.
Keep records. Write down all test results. Update your notes for future fixes.
Tip: A neat and professional job with prefabricated systems saves time and lowers mistakes.
Minimizing Signal Loss
You can keep your network strong by lowering signal loss during installation. Try these helpful tips:
Use fusion splicing for strong, low-loss connections.
Clean connector ends before joining to stop dirt.
Pick the right cable type for your space, like plenum-rated or armored cables.
Keep the right bend radius and do not pull cables too hard.
Secure cables in trays or conduits so they do not move or get crushed.
Test every link with OTDR or OLTS before you turn on the network.
Mistakes like dirty connectors, sharp bends, or bad terminations can weaken your signal. Careful work and regular testing help you avoid these problems.
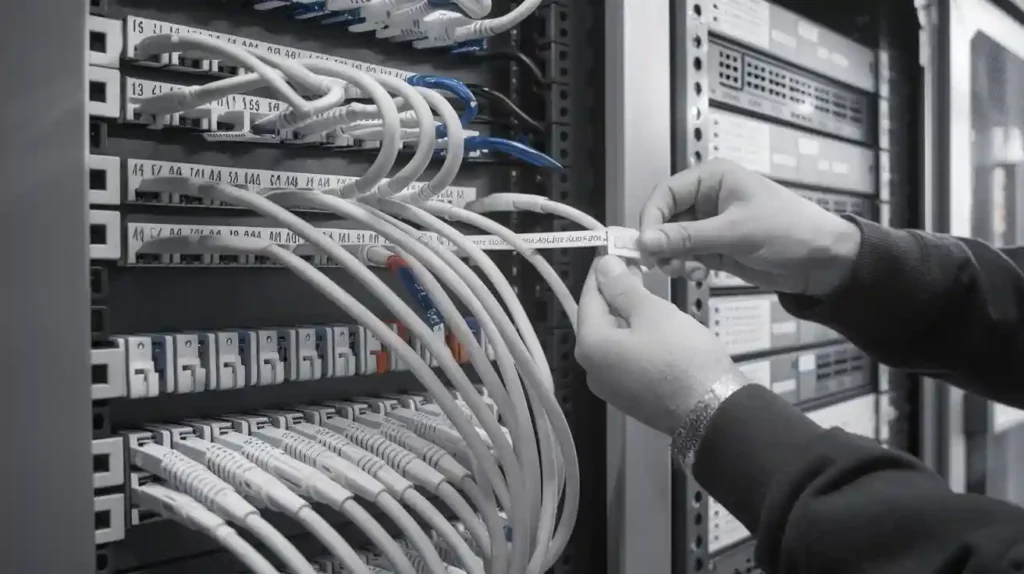
Labeling and Documentation
Good labeling and documentation make your Fiber Optic Routing easy to use and upgrade. You should:
Label both ends of every cable with port, rack, and zone info.
Use machine-printed labels so you can read them easily.
Keep detailed notes about cable paths, lengths, and connections.
Update your notes after every change or upgrade.
Follow standards like TIA-606 for labeling and TIA-942 for network design.
Use color codes for different fiber types and uses.
Check your cables often to make sure your notes are correct.
Note: Good documentation saves time when you fix things and helps you plan for the future.
Maintenance and Testing
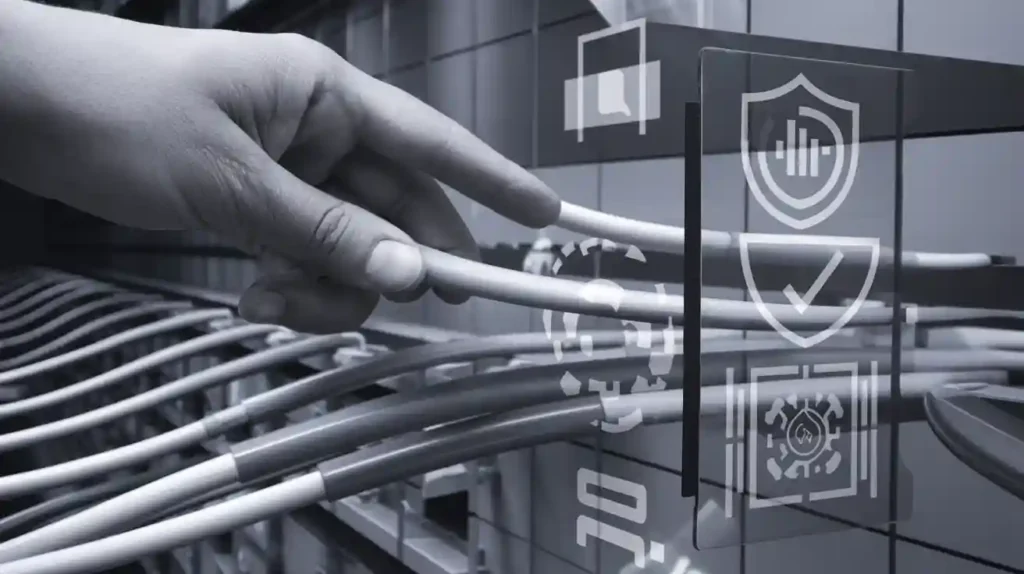
Routine Inspections
You should check your indoor fiber optic network often. Look for broken cables or loose connectors. Watch for any signs of damage or wear. Use your eyes and simple tests to find problems early. Clean connectors and splice trays to stop signal loss. Measure optical loss and attenuation to keep your network strong. Make sure your team knows what to do and keeps learning new skills.
Look for broken cables and loose connectors
Clean connectors and work areas
Measure optical loss and return loss
Use OTDR to find problems
Keep your team trained and certified
Tip: Checking your network often helps you fix problems before they get worse.
Nano-OTDR and Testing Tools
New testing tools help you find and fix problems fast. Nano-OTDRs and other testers give quick and correct results. You can use these tools to check for faults and measure loss. They also help you make sure your network was installed right. The table below lists some popular tools:
Product / Tool Name | Manufacturer | Key Features and Use Case |
|---|---|---|
OptiFiber | Fluke Networks | Combines OLTS and OTDR; video microscope; Tier 2 testing; easy troubleshooting |
M100 OTDR | Noyes Fiber Systems | Lightweight, portable; multimode/singlemode; cost-effective |
Media Test Set (MTSe) | Acterna Inc. | OTDR with spectral analysis; dispersion testing; high-speed network support |
MW9076 Series OTDR | Anritsu Co. | Fast measurement; clear display; indoor/outdoor use |
TRACETEK OTDR Adapter | IDEAL Industries | Affordable OTDR adapter; attaches to testers |
You can also use tools like Fibolocator to find faults for less money. Software like LinkWare helps you look at and save your test results.
Record Keeping
Keeping good records makes your network easier to fix and upgrade. Label every fiber with where it starts and ends. Make a map so workers can see the whole network. Save test results from OTDRs and other tools in a safe place. Use good test equipment and fill out all forms with details. Keep more than one copy of your records so you can get your network working fast if something goes wrong.
Label fibers with clear info
Make and update network maps
Save all test results
Use checked test equipment
Fill out detailed forms
Store records in different places
Keep your record system neat and correct
Note: Good records help you fix problems faster and save time.
You get the best results when you plan ahead and follow the rules. Always think about what you might need later.
Pick cables that are safe and follow the rules. Try not to bend them too much.
Write down what you do and test your work each time.
Check your cables often and keep good notes.
Ask FOA experts for help if your project is hard. This helps your network last a long time.


 Fiber Optic Termination Boxes
 Fiber Optic Splice Enclosures
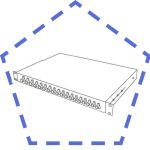 Fiber Patch Panels
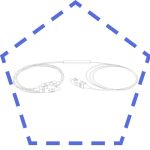 PLC Splitters
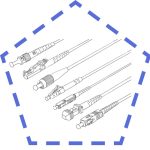 Fiber Optic Pigtails
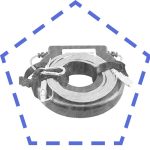 OTDR Launch Cables
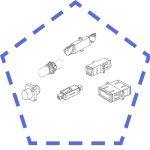 Fiber Optic Adapters
 Fiber Optic Patch Cords